Guest post: Isaac Philbrook, a long-time groovyReader turned contributor who loves to find solutions for annoying problems! groovyPost has always had a big fat hole in our archives when it comes to groovyPosts for the MAC so I hope we will see more from Isaac in the future! Recently, I ran into trouble when I realized that my HP all-in-one printer/scanner/fax would not cooperate and make multi-paged .PDFs. This was a tragedy. Every time I scanned a new page it would just create a new .PDF file. Well, after years of being a Mac user, I finally broke into one of the handiest tools ever: the Automator! I’ve never used the Automator before–I guess I never really had a reason. What I’m about to discuss was my introduction to the world of the Automator and just a taste of it’s glory. I had a need to scan multiple documents into a single .PDF file. Ideally, I’d like the scanner to do this automatically as I scan them. But after some research, I realized that wasn’t gonna happen. What I did discover, however, was that the Automator has an immensely useful function (aside from having the coolest looking icon ever). With the help of the Automator, I was able to scan files to .PDF individually then create a work flow that would turn that group of .PDFs into a single .PDF file. Ahh… Tragedy solved! Rather than keep this groovyTip to myself, I decided to quickly document the steps and share it with all of you! Enjoy!
Creating an Automator Workflow to Combine PDFs into a Single Document
Step One
First, launch Finder, Click Applications look for Automator. He’s tough to miss–he’s the cool looking robot with a cannon or pen or something.
Step 2
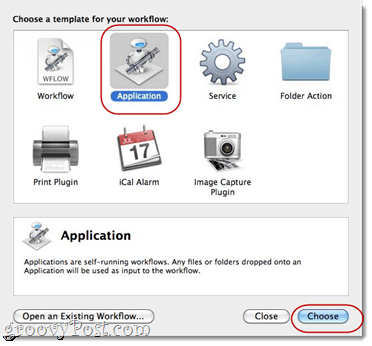
Launch Automator. Automator will prompt you to choose a template for your workflow. Select Application and hit Choose.
Step Three
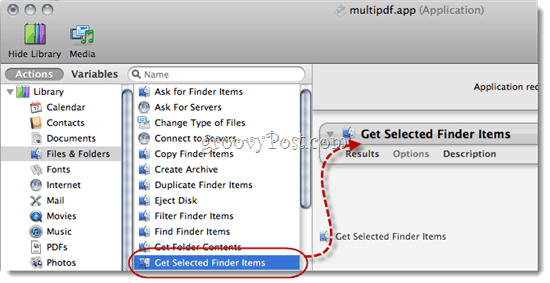
Expand Library on the left-hand side. Select Files and Folders (it has the same icon as Finder). Next, Select Get Selected Finder Items in the next column. Drag and drop Get Selected Finder items into the right-hand window, where it reads “Drag actions or files here to build your workflow.”
Step Four
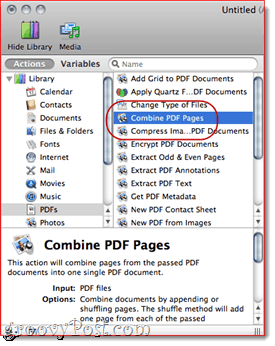
Go back to the Library on the left-hand side and look for PDFs. Select it and look for Combine PDF Pages.
Step Five
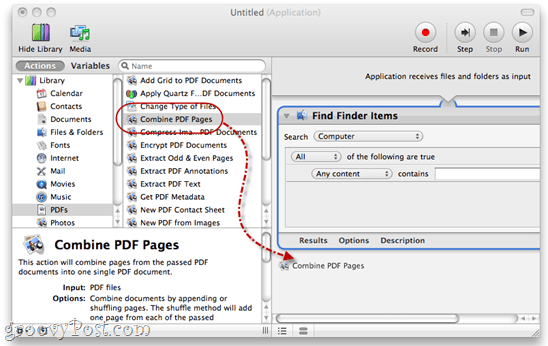
Drag and drop Combine PDF Pages into the right-hand pane, beneath “Get Selected Finder Items.”
Step Six
Select Appending pages.
Step Seven
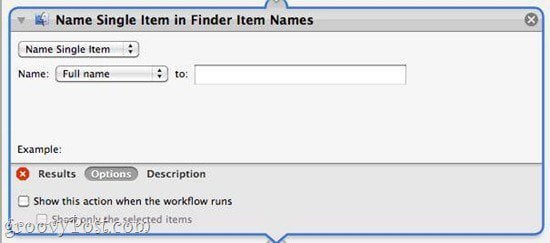
Go back to the Library on the left-hand side. Click Files and Folders and Drag and drop “Name Single Item in Finder Item Names” into your workflow.
Note: If you don’t see “Name Single Item in Finder Item Names,” look for Rename Finder Items. After you drag it and drop it, Click the drop-down menu and choose “Name Single Item.”
Step Eight
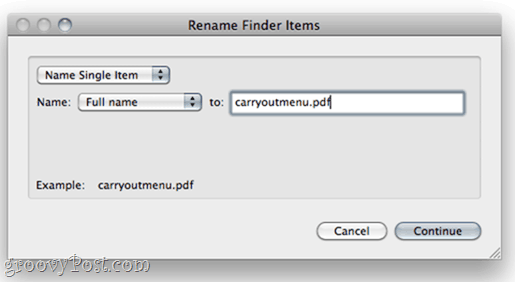
In the drop-down menu next to “Name,” choose Full Name. Leave the “To:” field blank.
Step Nine
Click Options and Check Show action when the workflow runs. This will allow you to choose a new file name when you combine .PDFs.
Step Ten
Let’s head back to the Library on the left-hand side. Highlight Files and Folders again. Now, Drag and drop New Folder into your workflow.
Step Eleven
Click Options and Check Show this action when the workflow runs.
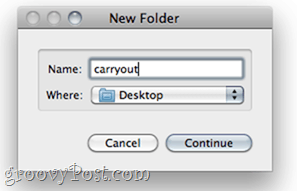
This will let us create a new folder at the end of our work flow. Personally I like everything separated in it’s own little place. This just makes it easy for us to keep track of where our new documents are going. I added the folder name “test2” just for the sake of showing you what it would look like.
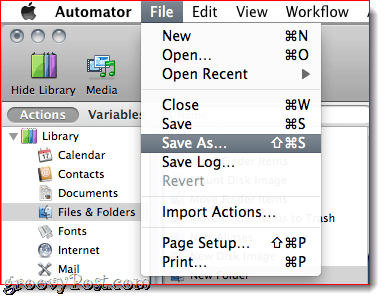
Step Twelve
Click File > Save as… and name your new multi-page .PDF creating application!
Running Your Multi-Page .PDF Creator Workflow
Step One
To use your new multi-page .PDF application, scan several documents using a logical naming convention. I usually scan docs as 001, 002, 003 and so on.
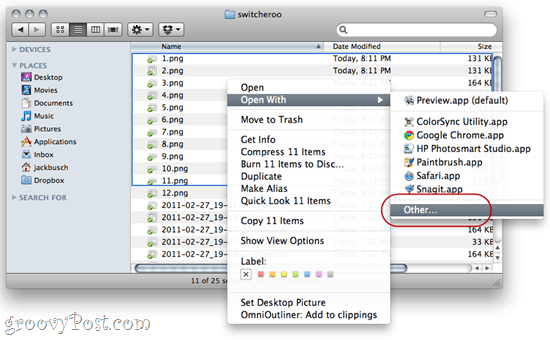
Step Two
Once you have all your individually scanned .PDFs, highlight them and Right-click (or CTRL-click) the group of documents. Choose Open With > Other…
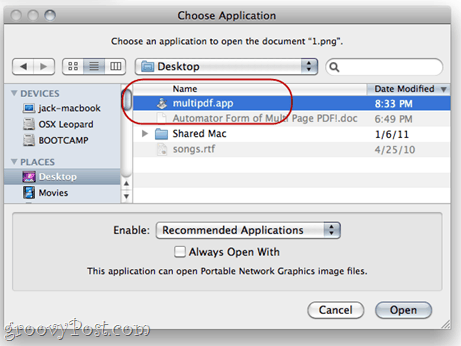
Step Three
Browse to where you have your ninja multi-.PDF application stored.
Step Four
The work flow will run and you will be prompted for the new file name and folder name.
Give your file and folder a name and Click Continue.
Step Five
Enjoy your combined .PDF.
Conclusion
Now that I know about the Automator and the magic it brings, I am always messing around in there trying to figure out new ninja-like ways to perform simple tasks. Automator is pretty slick and easy to use, so get on in there, Mac people, and make some magic! Welcome to groovyPost. Thanks for the feedback and hope to see you around the blog. One problem—I did this over and over to make sure I didn’t make a mistake, and I don’t think I did….but each time the program created two images of each page…I finally figured out how to delete the extra pages, but wonder why this happened? Oh and btw this article is really really really helpful! awesome work bro! Tweak it for reducing the file size and your workflow will be explosive. Comment Name * Email *
Δ Save my name and email and send me emails as new comments are made to this post.


![]()
