Manage Website Permissions with Microsoft Edge
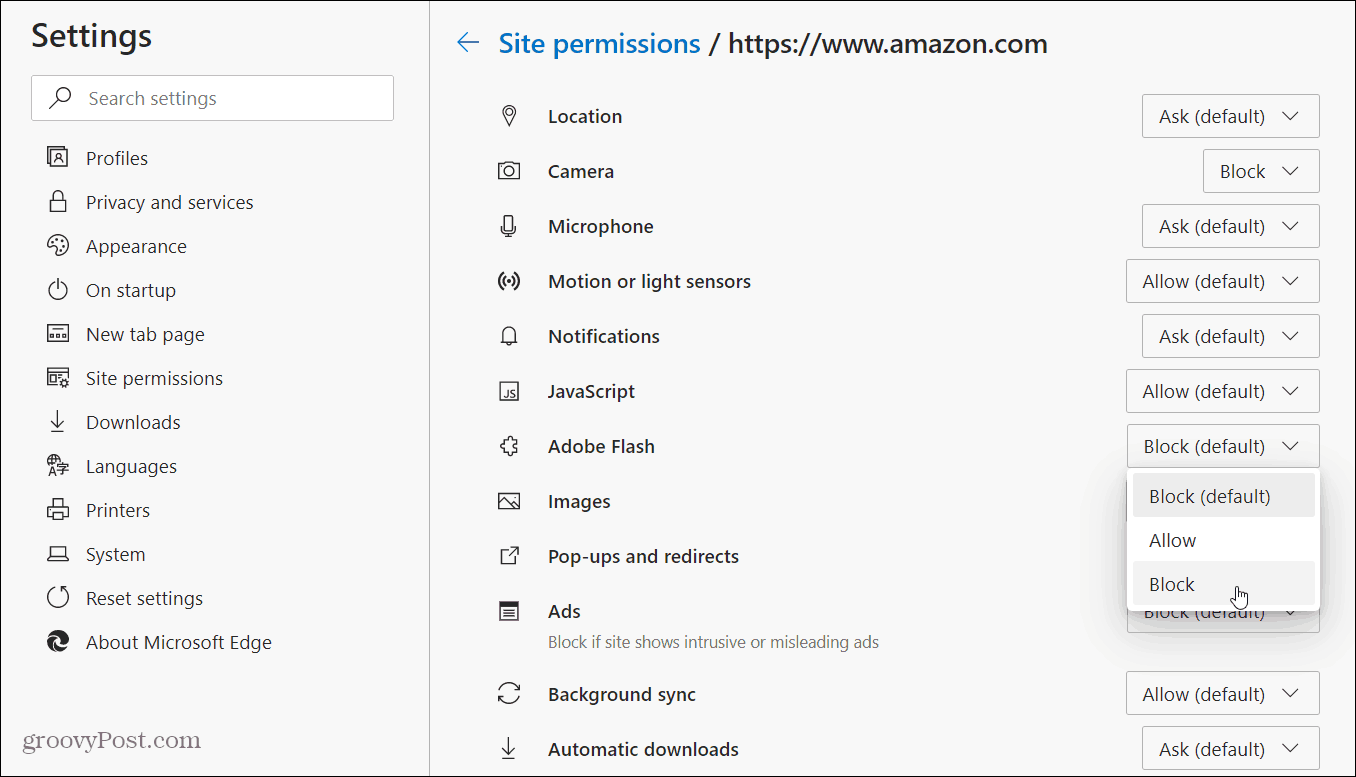
Launch Microsoft Edge and navigate to a site you want to manage permissions for. Then click the lock icon in the address bar and click Permissions for this site.
On the next screen, use the dropdown menus to allow or disallow or ask permissions. When you’re finished, make sure to hit the Refresh button on the site to apply the change. The site will no longer allow access to the item you blocked. Or, it will have permission to use the item, i.e., your system’s microphone or camera.
From this section, you can also click on the Reset button on the “Reset site permissions?” message. And it will reset them back to the default settings.
Change Site Permissions for All Sites
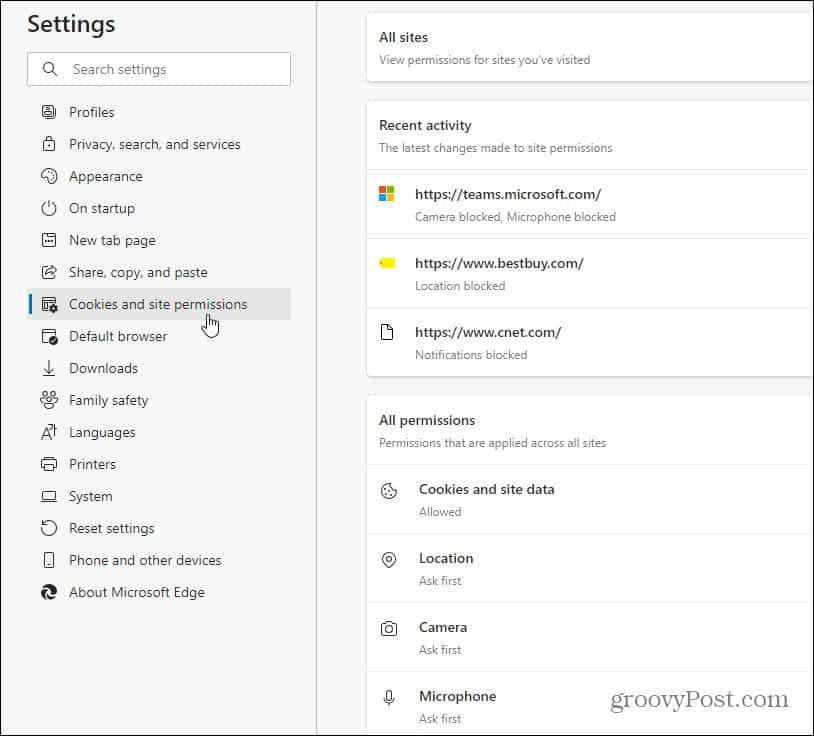
If you don’t want to do the steps above for every site, you can set site permissions for all websites you visit, too. Launch Microsoft Edge and click the Options button (three dots) and click Settings from the menu.
Now select Cookies and site permissions from the left panel. Then select the site and items you want to block or allow access.
Summing Up
Now, Microsoft Edge blocks many of the things you want access to. Or, at the very least, the default is always to ask first. Still, if you want more control over what sites try to access or not, managing site permissions might be something you want to do. For example, I blocked the microphone and camera access on many sites. Keep in mind that the new Chromium-based Edge is cross-platform and available for Windows 7, 8, 10, macOS, Android, and iOS. For more tips and tricks on how to use the new browser, check out our Edge Archive. There you will find helpful tips like how to install Google Chrome extensions on Microsoft Edge.
![]()


