Checkboxes don’t need much introduction—a tick means yes (of some kind). If you want to insert a checkbox in Microsoft Excel, however, you’ll need to look into how. There isn’t a straightforward way to insert checkboxes in Excel because the feature is usually hidden. If you want to know how to insert a checkbox in Microsoft Excel, follow our steps below.
How to Enable Developer Tools in Excel
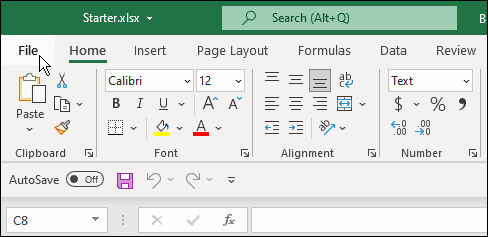
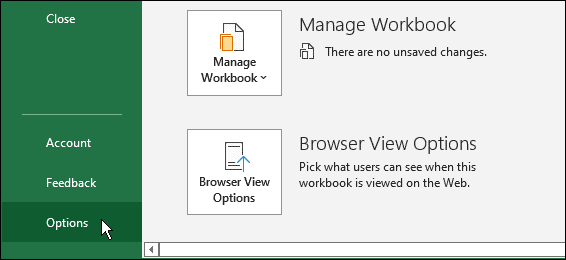
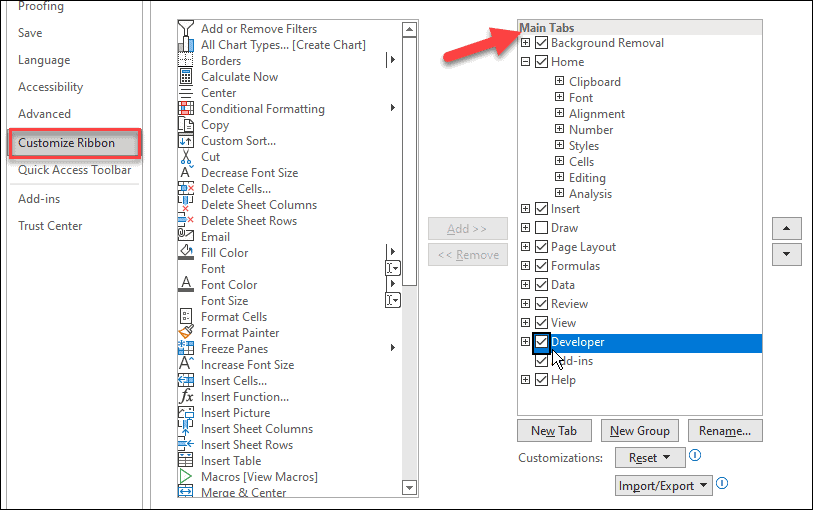
Before you can insert a checkbox in Excel, you need to enable the Developer tab. This is where the feature for checkboxes in Excel is hidden. To add the Developer tab to the Excel ribbon:
How to Insert Checkboxes in Excel
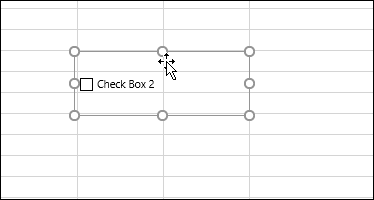
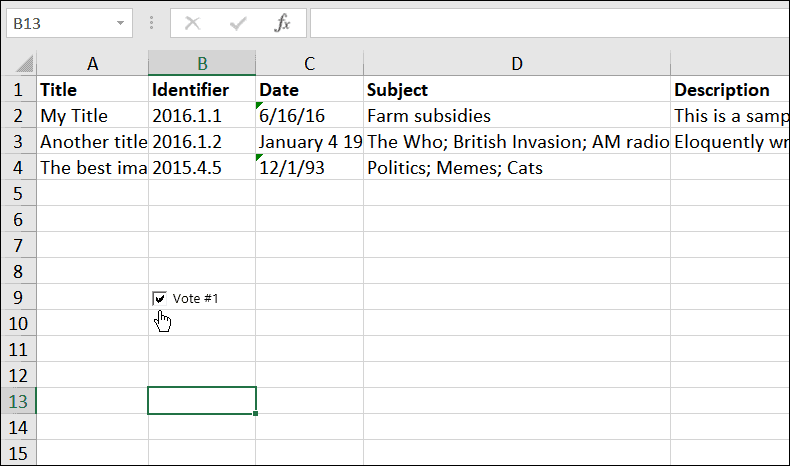
Now that the Developer tab is available to you, adding a checkbox in Excel should be a straightforward process. To insert a checkbox in Microsoft Excel, do the following: That’s all you need to do to insert a checkbox in Microsoft Excel. However, once you get the box inserted, you might want to format it and make it look better.
How to Format an Excel Checkbox
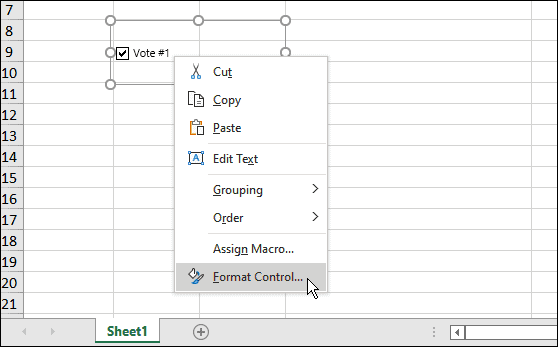
Formatting a checkbox in Excel is also straightforward. To get started:
Using Checkboxes in Excel
Wanted to create a form in your spreadsheet? Inserting checkboxes in Excel is a great way to get started. Once you enable the Developer tab, you’ll be able to access the tools you need to add and format checkboxes in your spreadsheet. Want to do more in your spreadsheet? You may want to add a graph to analyze your data quickly. If you’re interested, you can quickly add a box plot, bar graph, or a Gantt chart in Excel. Comment Name * Email *
Δ Save my name and email and send me emails as new comments are made to this post.
![]()

