Make Windows 10 Start Menu Full Screen
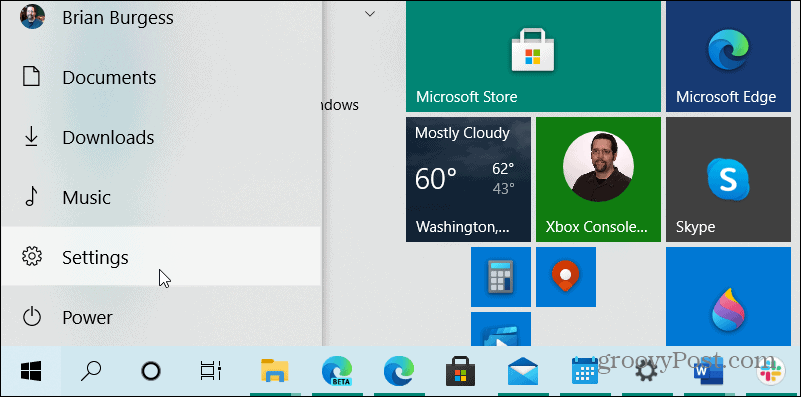
To get started hit the Windows key and select Settings from the Start menu. Or if you are a keyboard warrior use the key combination Windows Key + I to open Settings directly.
Now in the Settings app select Personalization from the home screen.
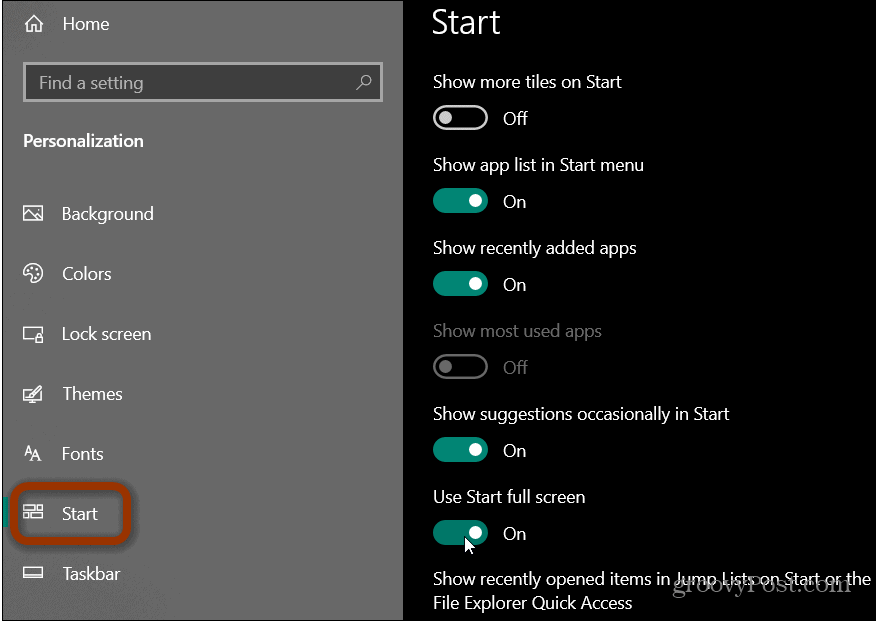
Next, in the Personalization section of the Settings app select Start from the list on the left. Then on the right-hand side turn on the “Use Start full screen” button.
That’s all there is to it. The next time you launch the Start menu it will look something like the shot below.
A couple of reasons you would want a full-screen start menu is if you have a 2-in-1 hybrid PC with a touch screen. Or, you just might prefer to have the full-screen experience on a traditional PC. If you use it a lot it allows you to organize live tiles in groups and see more of them all in one shot. Whatever the reason, Microsoft makes it possible to toggle it on or off with the click or press of a button. It is worth noting that if you are using Windows 10 is Tablet Mode, the Start screen will remain full screen. The only way to get a regular size Start menu while in Tablet Mode is to turn it off. You can do that by launching the Action Center and select the Tablet Mode button to enable or disable it.


![]()
