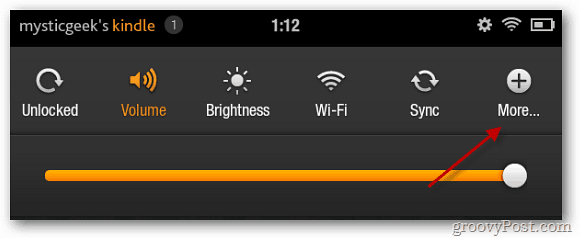
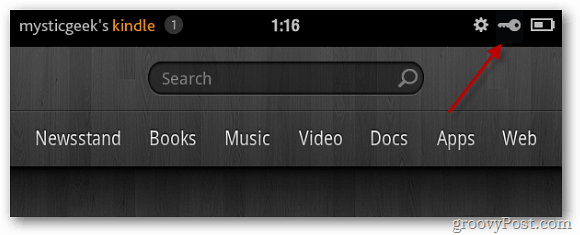
Power on your Kindle Fire and tap the gear icon at the top of of the screen then tap the More button.
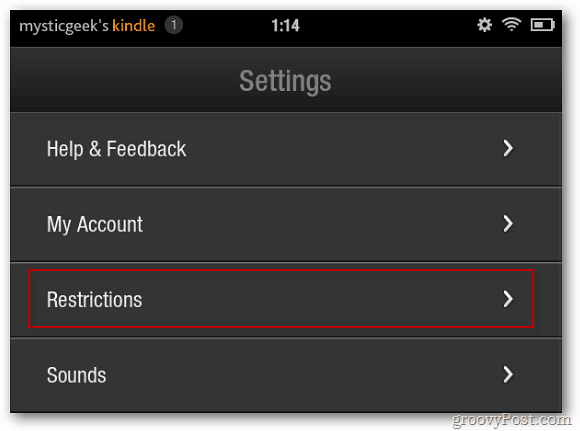
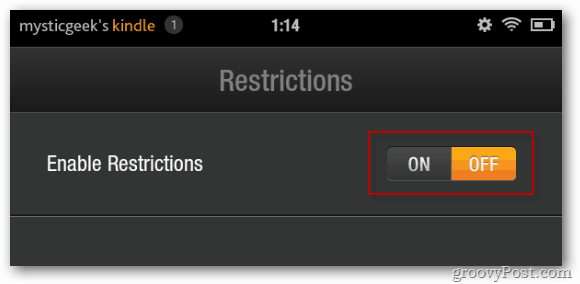
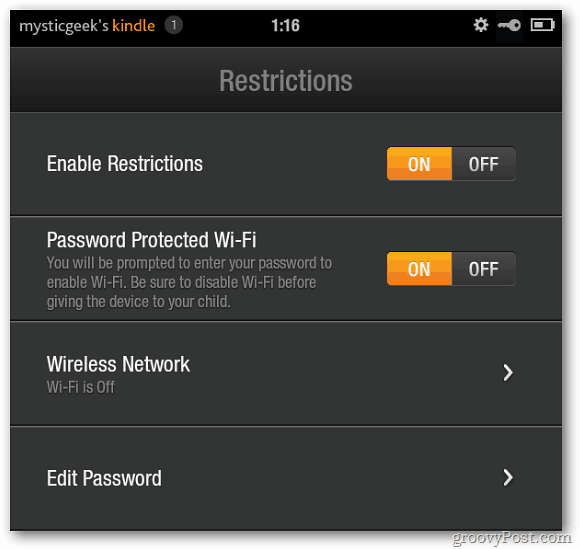
Next, on the Settings page tap Restrictions. Set Enable Restrictions to On.
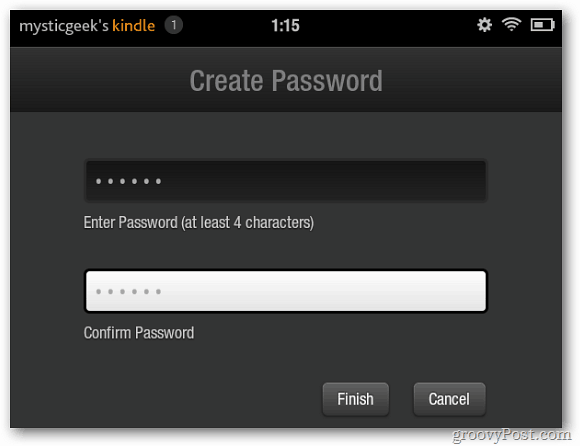
Create a password by typing it in twice then tap Finish.
Next you’ll see that Restrictions and Password Protected WiFi are on.
When WiFi is password protected, a key icon appears in the upper left corner of the screen.
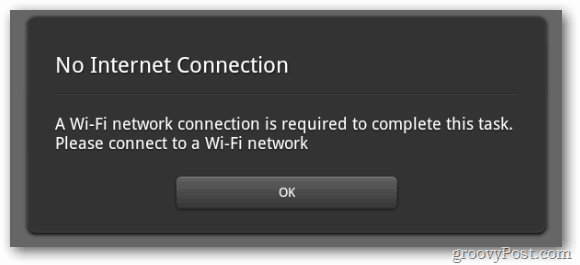
Now if someone tries to use your Kindle Fire to view anything online, they will need to enter in the password you created first.
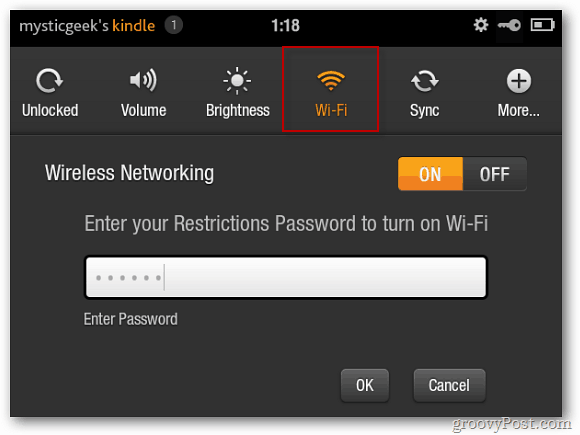
To turn on WiFi again, tap the gear icon then tap Wi-Fi. Type in the password and click OK.
This feature is good if you don’t want your young ones accessing Internet content. If you root your Kindle Fire you can use this to avoid those sneaky updates that remove root access. Looking for more security options for the Kindle Fire? Check out our article on how to enable the Lock Screen password. https://www.groovypost.com/howto/restore-kindle-fire-default-settings/ Comment Name * Email *
Δ Save my name and email and send me emails as new comments are made to this post.
![]()
