First, connect your Kindle Fire to your computer via a Micro USB cable.
Swipe the Lock Screen and type in the Kindle Fire Lock Screen Password if you have one. When AutoPlay comes up in Windows, click Open Folder to View Files under General Options.
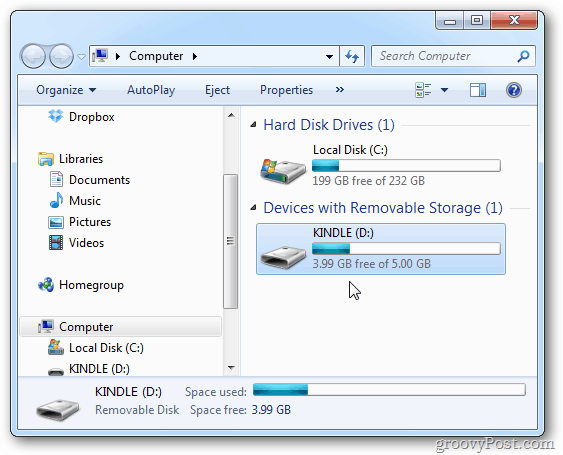
If the Kindle Fire doesn’t show up automatically, go into My Computer and you’ll see it listed as a removable drive.
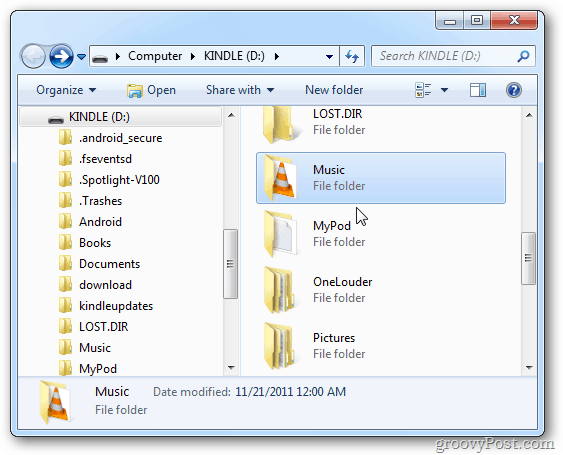
Open the Kindle Fire drive and open the Music folder.
Drag the songs you want to the Kindle Fire Music folder. Kindle fire supports AAC, MP3, AMR, MIDI, OGG, WAV and MP4 music file formats.
If you’re using iTunes, drag music directly from iTunes to the Kindle Fire Music folder. This is nice as it lets you copy full albums or individual songs over. Keep in mind it will only play songs not protected by DRM.
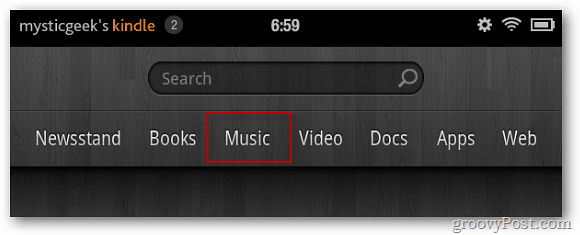
After your songs copy over, unplug your Kindle Fire from the computer and power it on. Tap Music from the home screen.
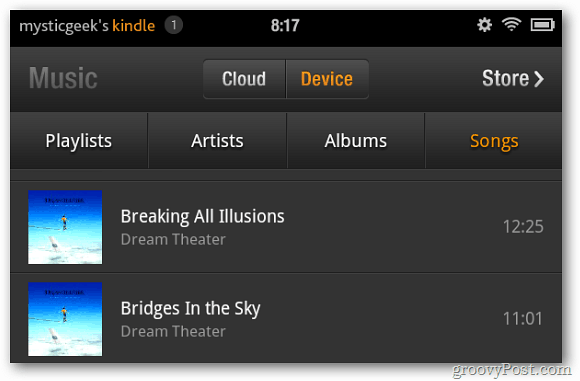
Then tap Device. Then sort through the music you added by Artist, Albums or Songs.
Now you can enjoy your favorite music on the go, without having to worry about being connected to WiFi.
If you want the entrie album, there’s a small orage down arrow icon that you can tap to get the whole album. Comment Name * Email *
Δ Save my name and email and send me emails as new comments are made to this post.


![]()
