What are Lens Corrections?
Most zoom lenses (and even some wide primes) distort the final image by quite a bit if you shoot at their widest end.
The 18-55 (f/3.5-5.6G) lens (also known as the Kit Lens) is shipped with most of today’s entry level DSLR cameras. Although it’s a good start, its distortion at 18mm is sometimes a bit too much. By using Lens Correction, you can fix geometrical imperfections in your image to achieve a better overall result.
In Lightroom
Lens Correction in a software program designed for photographers should be as simple as a few clicks. And it is. To apply lens correction to a photo in Lightroom, open it and go to the develop module.
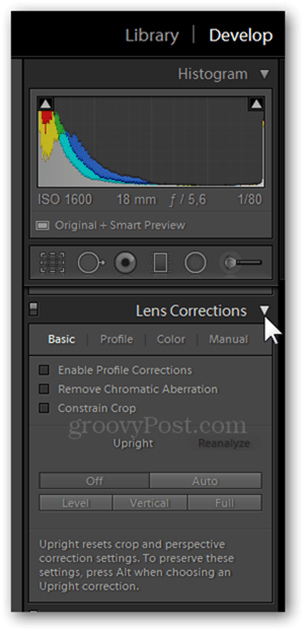
From there, scroll all the way down to the Lens Correction tab.
Tick Enable Profile Corrections to let Lightroom automatically adjust the image for you.
Or use the Manual subcategory to make the adjustments to your image by yourself.
In Photoshop
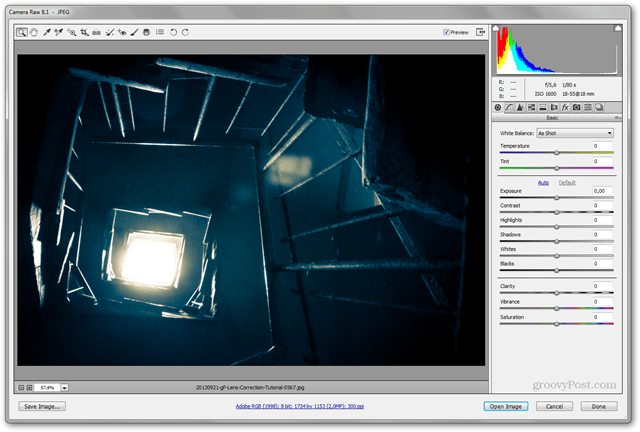
Start by opening the image you wish to correct in Adobe Photoshop Camera Raw.
Go to the Lens Corrections Tab (number 6 from left to right).
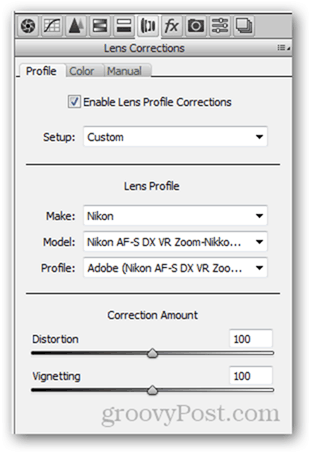
Just like in Lightroom, you can either have Photoshop do the changes for you based on a lens profile…
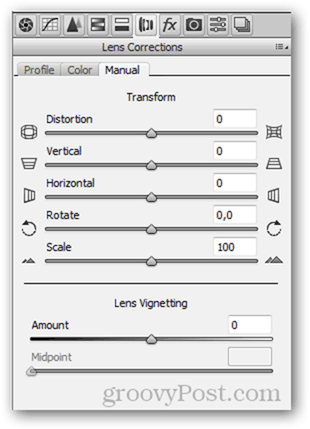
Or manually adjust everything yourself.
Comment Name * Email *
Δ Save my name and email and send me emails as new comments are made to this post.


![]()
