Enable Hyper-V on Windows 8.1
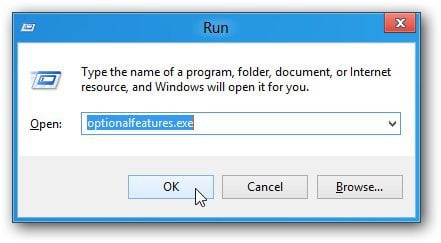
Update: Windows 8.1 is nearing its end of support from Microsoft: First, make sure your computer can run Hyper-V. It would help if you had an AMD or Intel 64-bit processor that supports Second Level Address Translation (SLAT). Go into Desktop mode, and use the Windows 8 keyboard shortcut Win Key + R to bring up the Run Line. Then Type: optionalfeatures.exe and click OK.
The Windows Features window opens up. Check Hyper-V, then click OK.
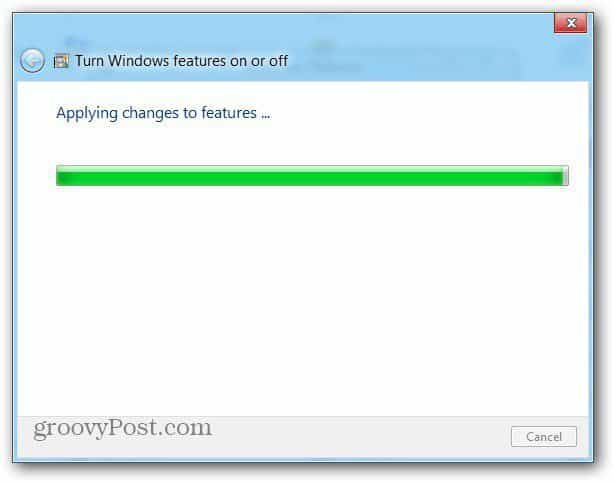
It takes just a moment for Windows to turn on the Hyper-V feature. Restart your system.
Click the Windows key to go back to the Metro UI. Scroll to the right to find the tile named Hyper-V Manager. You’ll also see Hyper-V Virtual Machine Connection. But it would be best if you created a VM first. Click on Hyper-V Manager.
The Hyper-V Manager opens in Desktop view. Here’s where you create new virtual machines and manage their functionality.
I’ll show you how to create a virtual machine and manage it with Hyper-V Manager in a future article. The Windows 8 Consumer Preview has now officially been released, so that we will be pumping out content on it. Comment Name * Email *
Δ Save my name and email and send me emails as new comments are made to this post.


![]()
